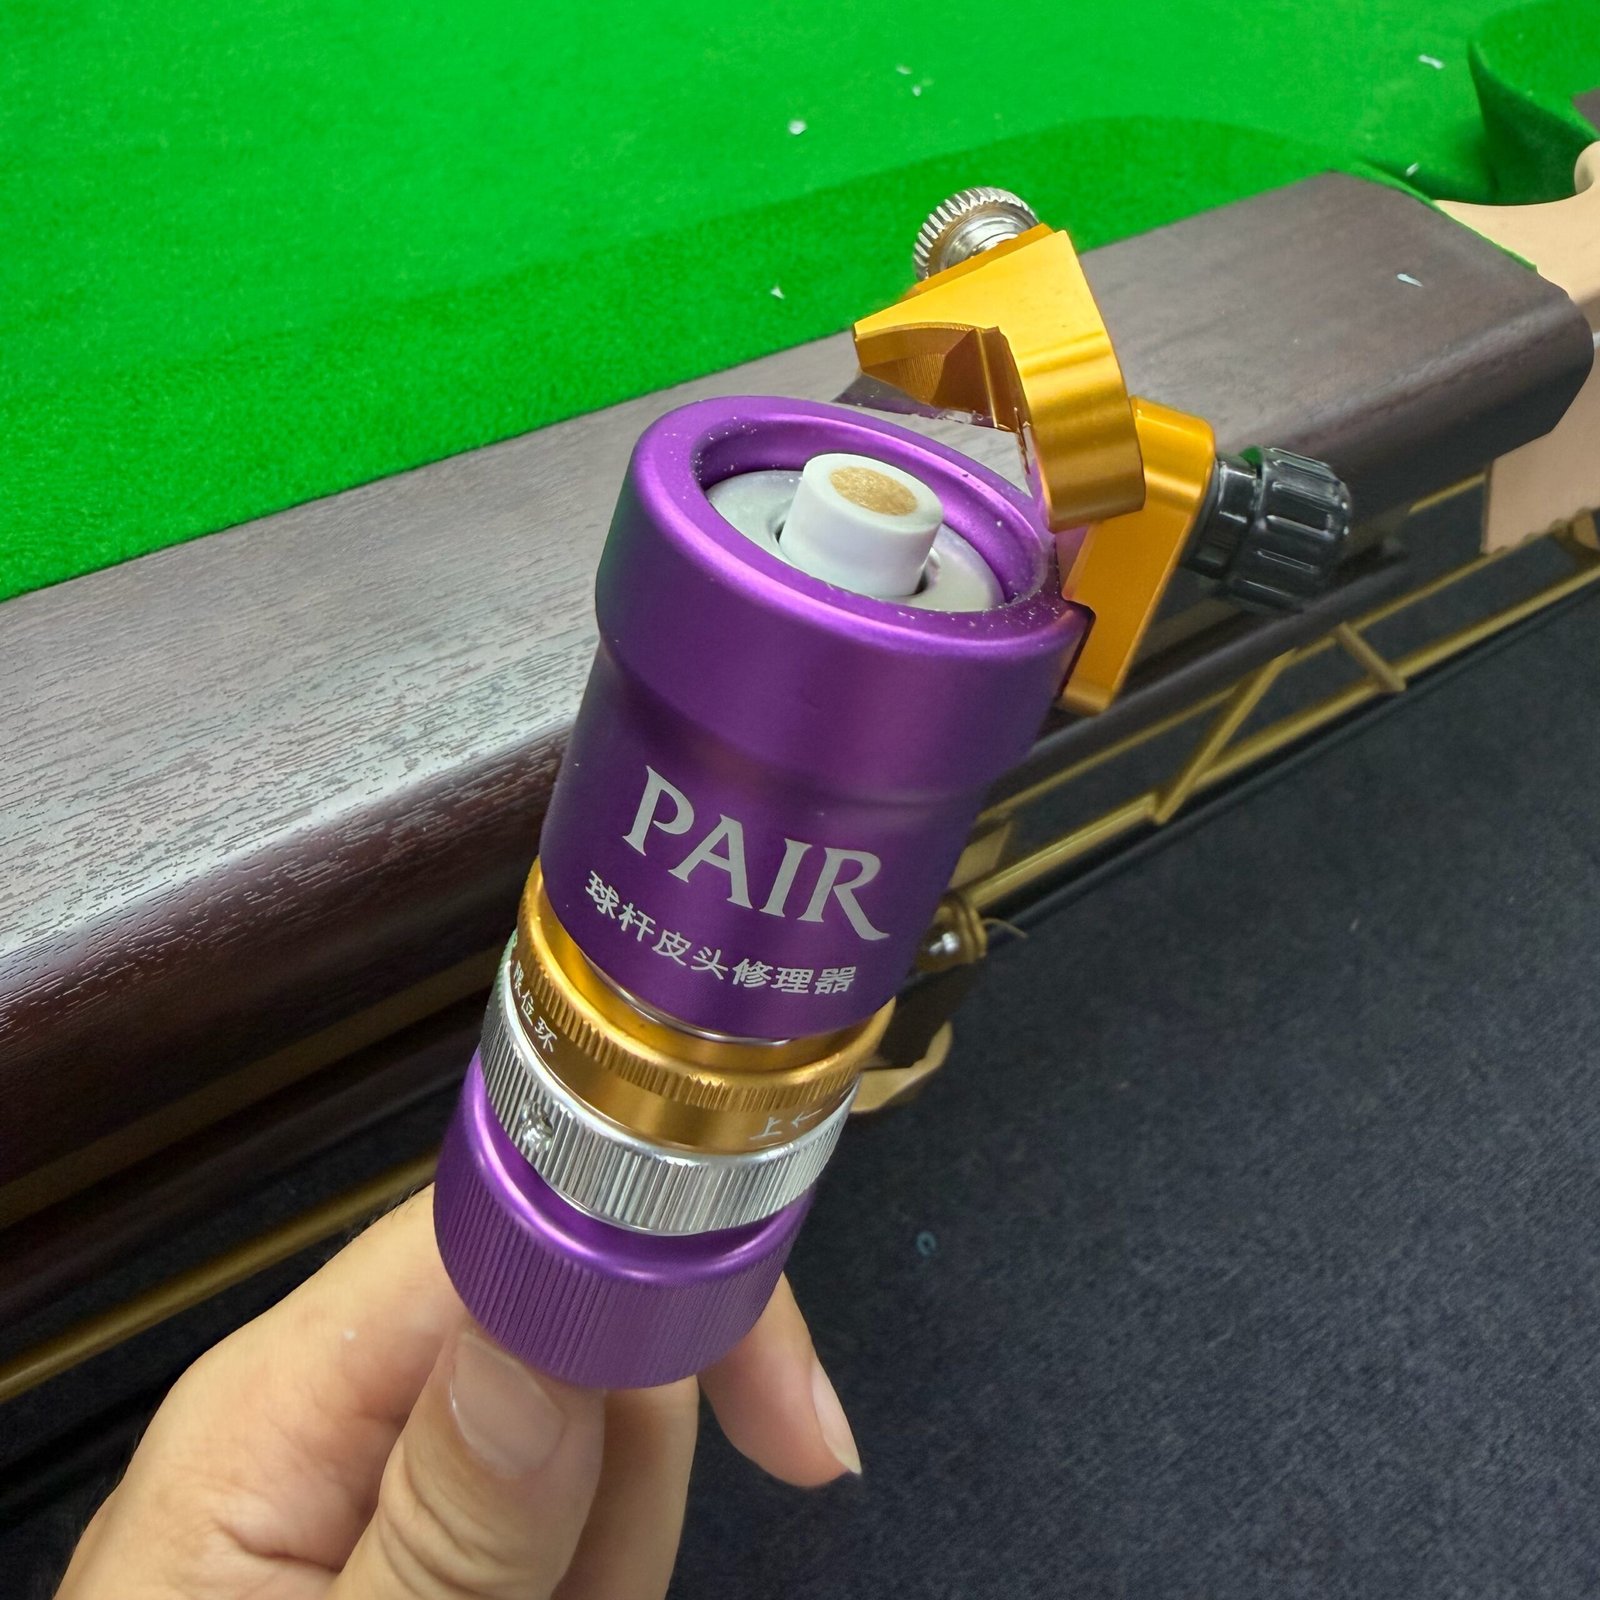
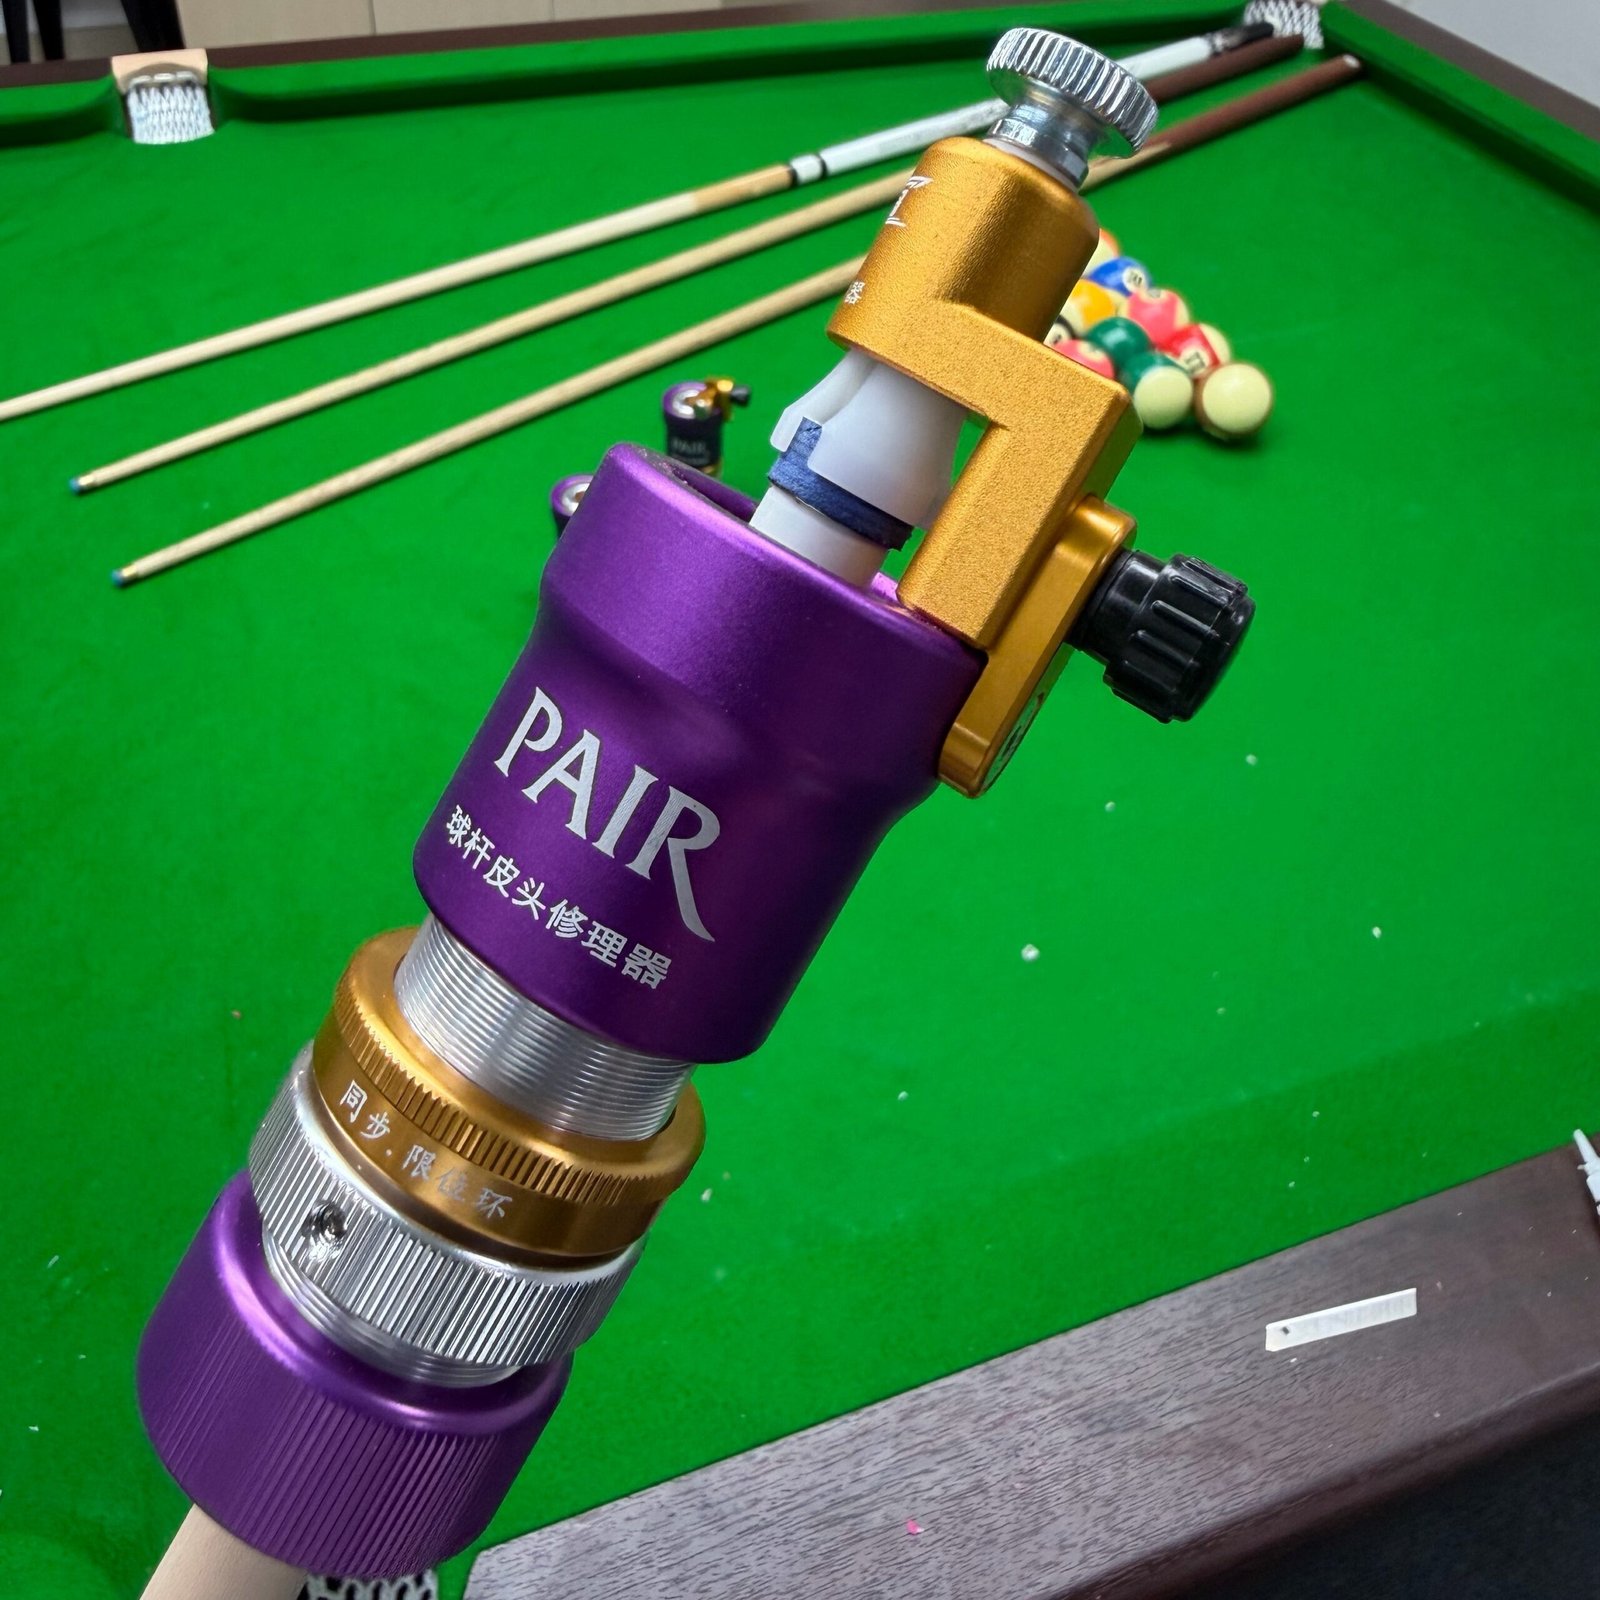
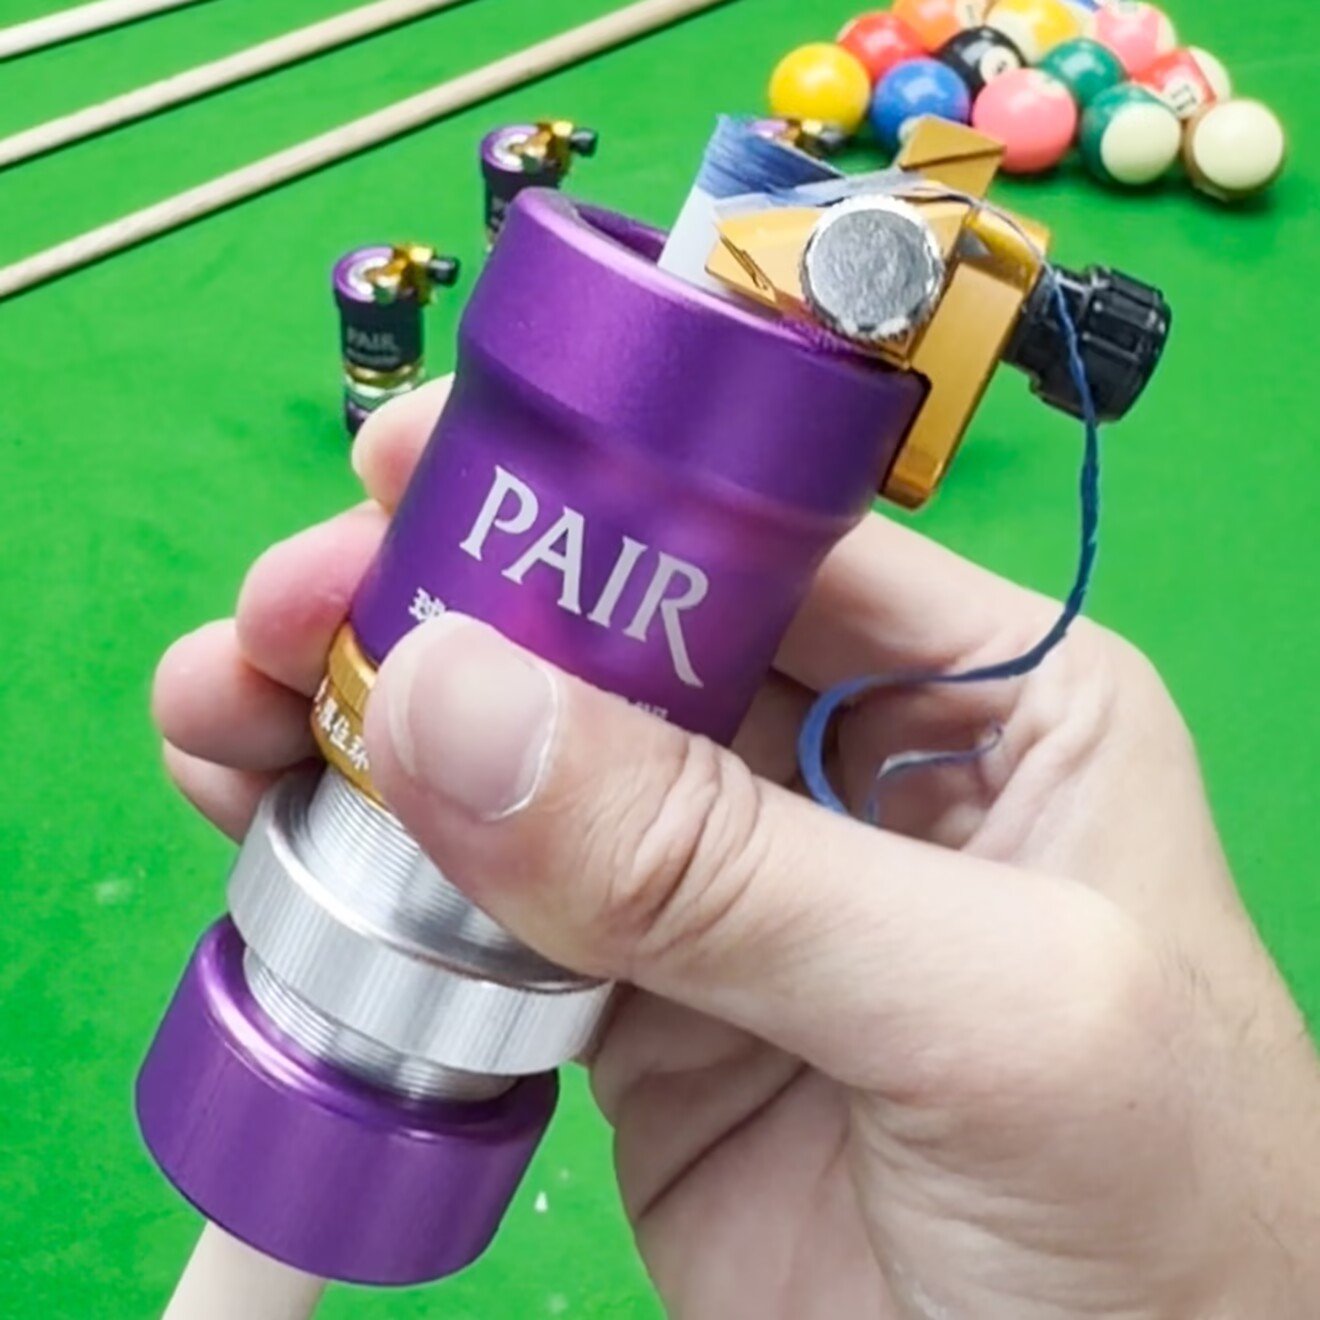
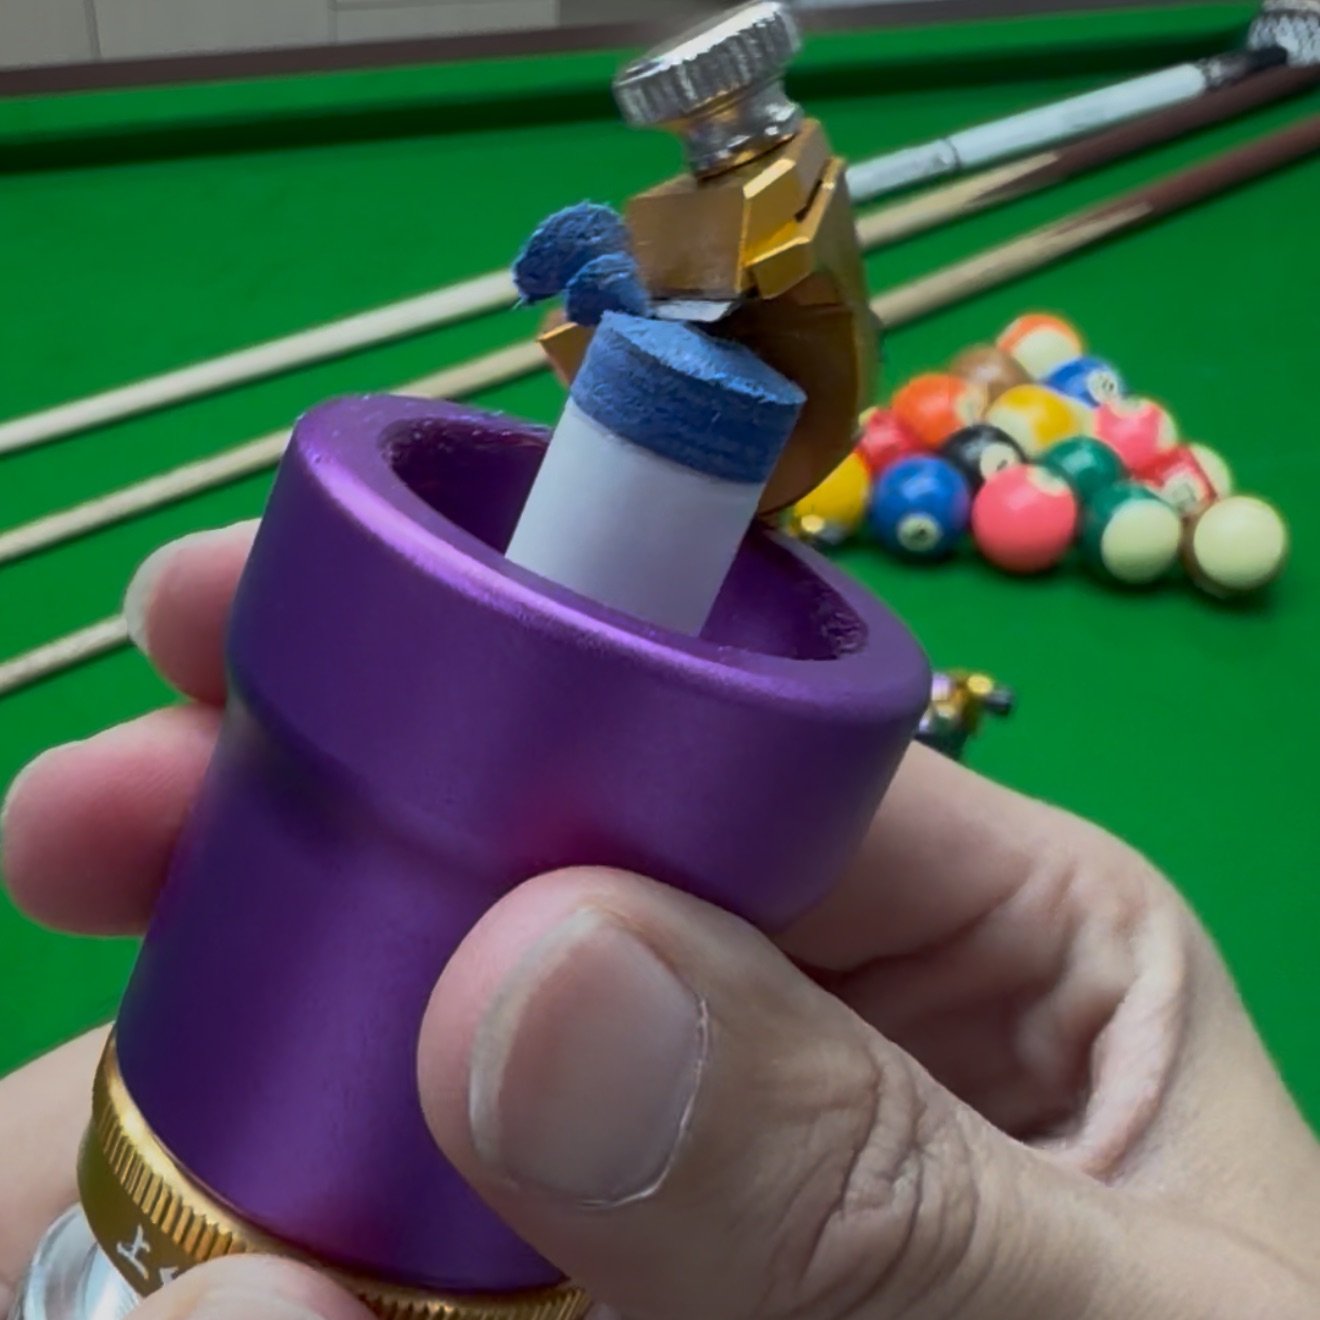
Step 1 — Remove the Old Tip and Flatten the Ferrule
Remove the remaining old tip and scrape the ferrule surface flat. A clean, even ferrule face creates the proper foundation for bonding the new tip.
Step 2 — Center and Glue the New Tip
Position the new cue tip carefully, align it to the center, and secure it in place for bonding. Proper centering helps ensure a balanced and consistent final result.
Step 3 — Trim the Side of the Tip
Trim the side of the newly installed tip in light, controlled passes. This step removes excess material and brings the tip edge flush with the ferrule.
Step 4 — Shape the Final Radius
Adjust the cutter angle and gradually shape the playing surface of the tip. Work in small passes until the desired curvature is achieved.
Do I install the cue before gluing the new tip?
Yes. Always install the cue into the PAIR tool first, then glue the new tip. Once the tip is attached, the cue may no longer pass through the tool opening.
Why did my tip become narrow in the middle?
This usually happens when the blade takes too heavy a cut or is pressed too firmly against the ferrule. Use lighter cuts and finish the sidewall in two passes.
How much pressure should I use?
Very little. The tool should guide the cut. Heavy pressure can flex the blade and reduce accuracy.
Can I shape different cue tip radii?
Yes. The cutter head angle is adjustable from relatively flat to very steep, allowing different cue tip profiles to be shaped gradually.
What replacement blade does the tool use?
A standard replaceable 9mm utility blade.
Can the centering attachment be used separately?
No. It is designed to mount onto the PAIR TipForge Machinist.
Your cart is currently empty!
Notifications